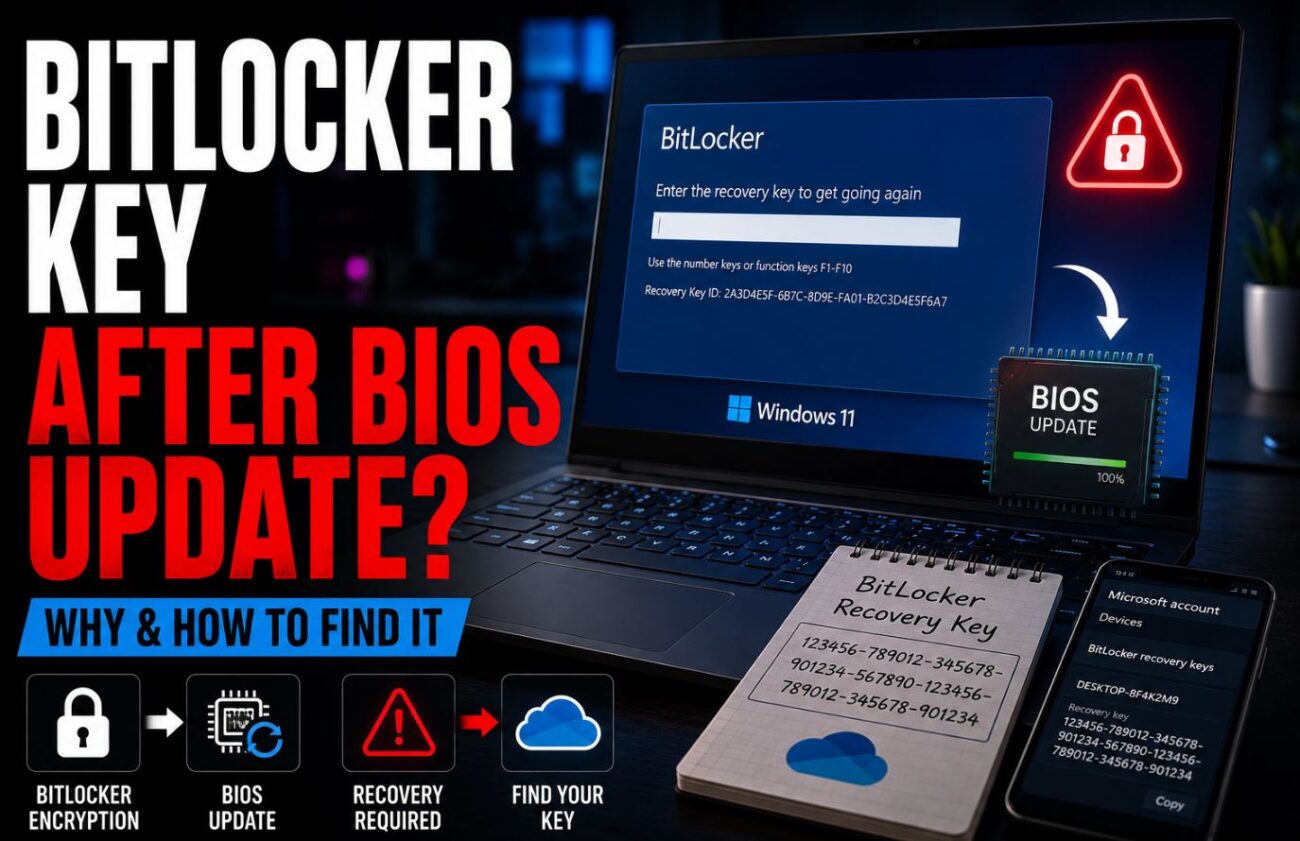
I updated my laptop’s BIOS to fix a stability issue and Windows refused to boot. A blue screen asked for a 48-digit BitLocker recovery key. I hadn’t set up BitLocker intentionally. I didn’t know I had a recovery key. The laptop had all my work files on it and I was a few seconds away from a panic-driven decision that could have wiped everything.
This happens to thousands of people every month — usually after BIOS updates, Windows feature updates, or hardware changes — and most of them don’t realize they have BitLocker enabled because Windows 11 activates it automatically on qualifying hardware without clearly telling you. Here’s why it happens, where to find the recovery key, and how to prevent it from happening again.
Quick Answer:
- Windows 11 Home and Pro automatically enable BitLocker (called “Device Encryption”) on hardware that meets certain criteria, without a visible setup wizard
- A BIOS update changes the TPM measurement values that BitLocker uses to verify the system hasn’t been tampered with, triggering a recovery key demand
- The recovery key is almost certainly backed up to your Microsoft account at account.microsoft.com/devices/recoverykey if you signed in with a Microsoft account during Windows setup
Why Windows 11 Enables BitLocker Without Telling You
Windows 11 has two related but distinct features: BitLocker Drive Encryption (the full version, available on Pro/Enterprise) and Device Encryption (a simplified version available on Home). Both encrypt your drive, but Device Encryption activates automatically when four conditions are met:
- The device has a TPM 2.0 chip (required for Windows 11 anyway)
- Secure Boot is enabled
- The device has a UEFI firmware
- You signed into Windows with a Microsoft account
If all four are true — which they are on virtually every Windows 11 laptop sold since 2022 — Windows silently enables Device Encryption during the initial setup and backs up the recovery key to your Microsoft account. No confirmation prompt. No “your drive is now encrypted” notification. It just happens.
On Pro and Enterprise, BitLocker may additionally be enforced by IT policy on managed devices, or enabled via Settings → Privacy & security → Device encryption.
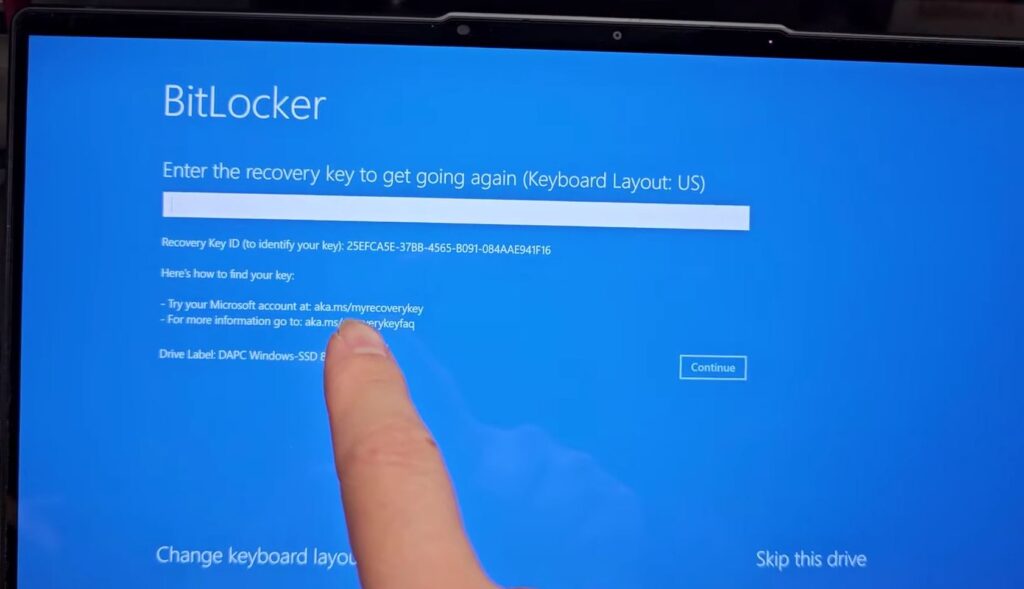
Why a BIOS Update Triggers the Recovery Key Screen
BitLocker’s security model relies on the TPM (Trusted Platform Module) chip measuring your system’s boot environment at every startup. These measurements — called PCR (Platform Configuration Register) values — include a fingerprint of your BIOS firmware, boot configuration, and Secure Boot certificates.
When you update your BIOS, the firmware version changes. The TPM measures the new firmware and generates different PCR values than it recorded when BitLocker was first enabled. BitLocker sees that the boot environment has changed, can’t verify whether this is a legitimate update or a hostile modification (like a bootkit), and falls back to requiring the recovery key as proof that a legitimate user is authorizing the boot.
This is the system working as designed — it’s genuinely protecting you from a scenario where someone replaces your BIOS firmware with malicious code. The problem is that it treats a legitimate BIOS update identically to a firmware attack, because from the TPM’s perspective, they look the same.
Other changes that trigger the same recovery key demand:
- Windows feature updates that modify boot files
- Changing Secure Boot settings in BIOS
- Replacing or moving the SSD to a different machine
- Enabling or disabling TPM in BIOS settings
- Replacing the motherboard (TPM is typically integrated or tied to the board)
- Resetting Windows via “Reset this PC” on some configurations
How to Find Your BitLocker Recovery Key
The recovery key is a 48-digit number (formatted as 8 groups of 6 digits). Where it is depends on how BitLocker/Device Encryption was set up.
Location 1: Your Microsoft Account (Most Common)
If you signed into Windows with a Microsoft account, the recovery key was automatically backed up there.
On any other device or phone, go to: account.microsoft.com/devices/recoverykey
Sign in with the same Microsoft account you use on the locked PC. You’ll see a list of devices with stored recovery keys. Find the device name that matches your locked PC → click Show recovery key → enter the 48-digit code on the locked screen.
[PRO TIP] The device name shown on the recovery key page may be the computer’s hostname, not a friendly name. If you have multiple devices, the “Date uploaded” column helps identify which key belongs to which machine — the key uploaded most recently before the BIOS update is the right one.
Location 2: A Text File or USB Drive (If You Set Up BitLocker Manually)
If someone set up BitLocker manually through Control Panel → BitLocker Drive Encryption, during setup Windows offers to save the recovery key as a text file or print it. Check:
- Any USB drive you might have used during initial setup
- Documents, Desktop, or Downloads folders on other devices (if the file was saved and transferred)
- Email — some people email themselves the recovery key file
- Any cloud storage the key file might have synced to automatically
Location 3: Azure Active Directory (Work/School Accounts)
If the PC is joined to a work or school domain (Azure AD), the recovery key is stored in your organization’s Azure AD portal, not your personal Microsoft account. Contact your IT department — they can retrieve it from the Azure AD device management console.
Location 4: Active Directory (Enterprise, On-Premises)
For domain-joined enterprise PCs, the key may be in the on-premises Active Directory. Your IT team can retrieve it using Active Directory Users and Computers → find the computer object → BitLocker Recovery tab.
What If the Key Isn’t in Any of These Locations?
If the recovery key was never backed up and the drive is encrypted, the data on that drive is inaccessible without the key — this is BitLocker working correctly as a data protection mechanism. There is no back door. Microsoft cannot help you recover data from an encrypted drive without the key.
Before concluding the key is gone: try the Microsoft account page on a different browser or device, check whether you used a different Microsoft account (work, school, or secondary personal), and verify the device isn’t Azure AD joined by checking Settings → Accounts → Access work or school on another Windows device that remembers your account.
(Tested on: Lenovo ThinkPad X1 Carbon | Windows 11 Pro 23H2 | TPM 2.0 | BIOS update from 1.52 to 1.60)
How to Prevent This From Happening Again
Before Any BIOS Update: Suspend BitLocker
The correct procedure before a BIOS update is to suspend BitLocker, which tells it to skip TPM measurements for the next boot cycle and not demand the recovery key. After Windows boots normally with the new firmware, BitLocker resumes and updates its baseline PCR values.
Open Command Prompt as administrator:
manage-bde -protectors -disable C:
Or via the GUI: Control Panel → BitLocker Drive Encryption → Suspend protection → confirm → now do the BIOS update → Windows will automatically resume BitLocker on next boot.
You don’t need to decrypt the drive. Suspending just disables the TPM check temporarily while keeping the encryption active. The drive remains encrypted; it just won’t require the recovery key on the next boot.
[COMMON TRAP] “Suspend protection” does not mean the drive is unencrypted or vulnerable. The data is still encrypted. Suspend only disables the TPM-based authentication for one boot cycle, then automatically re-enables with the new PCR baseline. Don’t let the word “suspend” make you skip this step out of security concern.
Save Your Recovery Key Somewhere Accessible
Regardless of the Microsoft account backup, print or save a copy of your recovery key somewhere you can access without the locked PC.
To find your current recovery key (while Windows is accessible):
Open Command Prompt as administrator:
manage-bde -protectors -get C:
The output shows all protectors including the Numerical Password (recovery key). Copy the 48-digit key to a note in your phone, a password manager, a printed document, or all three.
You can also find it via Settings → Privacy & security → Device encryption → BitLocker settings → Back up your recovery key → Save to a file or Print the recovery key.
Consider Disabling Device Encryption on Non-Sensitive Home PCs
If you’re using a home desktop or gaming PC that isn’t at risk of physical theft and doesn’t store sensitive data, you may prefer to disable Device Encryption to avoid future BIOS update friction.
Settings → Privacy & security → Device encryption → toggle off → confirm. Windows will decrypt the drive (this takes 10–60 minutes depending on drive size and speed).
This is a security trade-off — an unencrypted drive is readable if someone removes it — but it’s a reasonable decision for a stationary desktop in a home environment with no sensitive data.
Set BitLocker to Not Require TPM Authentication
A more advanced option is changing BitLocker’s policy to use a PIN or startup key instead of relying on TPM PCR measurements alone. With this configuration, BIOS updates don’t trigger recovery key demands because TPM-only authentication isn’t the primary unlock method.
This requires Group Policy (Windows Pro/Enterprise only): gpedit.msc → Computer Configuration → Administrative Templates → Windows Components → BitLocker Drive Encryption → Operating System Drives → Require additional authentication at startup → enable it → set “Configure TPM startup PIN” to “Require startup PIN with TPM.”
After enabling the policy, run manage-bde -protectors -add C: -TPMAndPIN and set a PIN. On every boot you’ll enter the PIN, which means the TPM measurement change from a BIOS update doesn’t trigger recovery mode — the PIN serves as the fallback confirmation.
What to Do If You Can’t Find the Key
If the Microsoft account page shows no recovery key and no other location has it, your options narrow significantly:
Option 1: Data recovery services. Professional data recovery firms can sometimes access data from BitLocker-encrypted drives if the encryption implementation has specific vulnerabilities, but this is expensive, not guaranteed, and generally not viable for consumer BitLocker.
Option 2: Reset the PC without the key. If you don’t need the data, you can boot from a Windows installation USB drive → choose “Install now” → select the encrypted drive → Windows will warn that the drive is encrypted and offer to format it. This destroys the data but gives you a working system.
Option 3: Prevent it for the future. If you’ve managed to access the system (perhaps by finding the key), immediately save the key, suspend before future BIOS updates, and consider whether Device Encryption is appropriate for your use case.
FAQ
I don’t remember setting up BitLocker. Why is it on? Windows 11 enables Device Encryption automatically on hardware that supports it when you sign in with a Microsoft account. You didn’t set it up intentionally — Windows did it during initial setup without a visible prompt. This is documented Microsoft behavior, though not prominently communicated.
The Microsoft account page says “No keys found.” What now? Check that you’re signed into the correct Microsoft account — the one you used when you first set up Windows on that device. If you have multiple Microsoft accounts (work, personal, school), try each one. Also check whether the device appears under “Devices” on the account page — if the device isn’t registered, the key won’t appear.
Can I access the recovery key from the blue screen? The BitLocker recovery screen shows the Key ID (first 8 characters of the key identifier). You can use this at account.microsoft.com/devices/recoverykey to identify which specific key to use if multiple keys are listed for multiple drives.
Will this happen every time I update my BIOS? Yes, unless you suspend BitLocker before each update. Adding “suspend BitLocker” as a checklist step before any BIOS or firmware update eliminates the problem going forward.
Does this affect external drives encrypted with BitLocker To Go? External BitLocker To Go drives have their own recovery keys, separate from the OS drive. They’re also backed up to your Microsoft account if that option was selected during setup. The BIOS update issue only affects the OS drive’s TPM-bound protector, not external drive encryption.
Is my data at risk if someone finds the recovery key? Yes — the recovery key can unlock the encrypted drive on any machine. Treat it with the same care as a password. Don’t email it, don’t store it in a notes app without additional protection, and don’t leave a printed copy somewhere accessible to others.
For broader context on Windows privacy and security settings that complement encryption, the guide to protecting your privacy online in 2026 covers the account-level settings where recovery key backup lives alongside other Microsoft account data controls.
Conclusion
The BitLocker recovery key screen after a BIOS update is the encryption system working correctly — it’s detecting a change to the boot environment and requiring proof of authorization. The fix is almost always the Microsoft account recovery key page, which stores the key automatically when Device Encryption is set up during Windows sign-in. The prevention is suspending BitLocker before any BIOS update, which gives it one unprotected boot cycle to establish a new TPM baseline without requiring the key. Knowing both before it happens makes the difference between a brief inconvenience and a very bad day.
